Adobe has released another new tool in the Generative ai family. This time, Generative Expand, makes it easier and quick to expand a photo or change its size or shape. See how to get the most out of it here.
At this time, this feature is only in Photoshop beta. Here is a short tutorial on how to get the Photoshop beta.
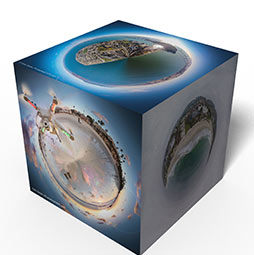
Here is one of my photos. I shot it horizontal, but I want to make it vertical or square, but I don’t want to ruin the shot by cropping anything out. Generative Expand will help.


Choose the Crop tool


You will notice you can choose a ratio from the floating toolbar, or the top toolbar).
We want square so Ill choose 1:1


Drag the crop tool to the crop you want, it will be locked to a square.
You can also reposition the photo within the square.
Press generate


Photoshop will generate the area in the sky and water to expand the photo.
You have 3 variations to choose from the in properties panel.


A couple of notes on this.
First of all, it is the same as generative fill and uses the same algorithm. In fact it is generative fill, but it’s saving you a few steps in making the selections. See how this works in Generative Fill
Because it’s Generative Fill, it still has the resolution limitation of 1024×1024. For posting on social media, this may be fine for some images. Here is how to get higher resolution in Photoshop Generative Fill
Let’s look at other things we can do With Generative Expand.


We can crop a photo to an exact size if we want.
Choose the crop tool, make sure Generative Expand is selected. If you don’t see it, make sure you have launched Photoshop beta.


Choose WxHxResolution
Let’s make this new image 4 inches by 5 inches at Print resolution (300 ppi (dpi once printed))
Enter 4in, 5in and 300 for resolution.


Now you will see the crop shape. When you apply this, the selected area will be resized to 4″ x5″ and any transparent areas will be filled by ai generated pixels.
Tip: Tap the x key to toggle between wide and tall.


When you are happy with your crop, apply it by clicking the checkmark at the top, or the Enter/Return key.


And here we have a beautiful crop.


So far, we have filled the edges based on the existing photo, and this will be enough for many people. This is how I will be mainly using it.
However, Generative Expand is capable of more, and I’ll demonstrate here.


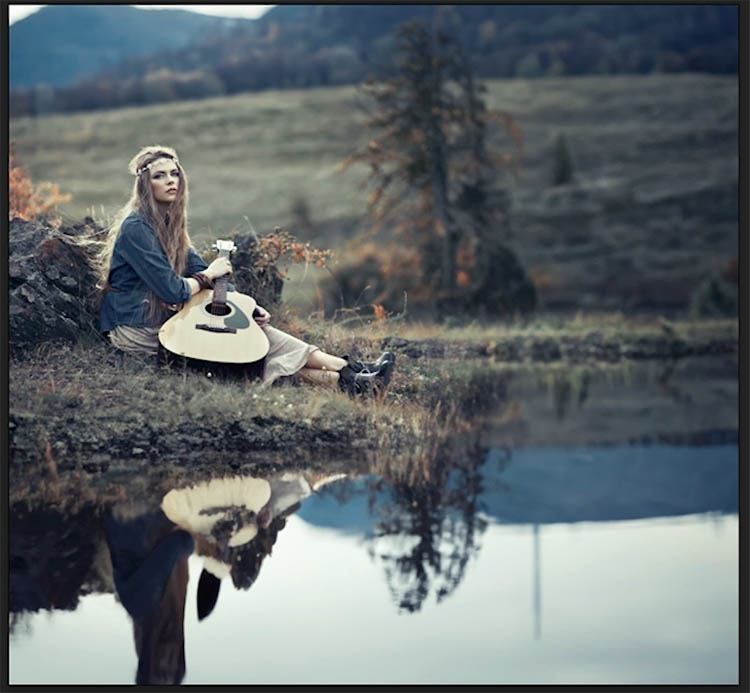
Let’s expand this photo, with very specific things, maybe we are making a CD cover, or a Tunecore cover for Spotify/Apple Music. (Tunecore/Apple Music uses 3000 x3000px btw)


Choose the crop tool and expand the image
Let make it fill the top with a mountain scene
Type in Mountains and press Generate


Here we go. Notice it respects the depth of field.This also lets us get away with the lower resolution generation.


Let’s take it further
Choose the crop tool and expand the bottom.
This time, type in lake in the prompt


This is what we get, I love that it even creates the reflection.

I hope you enjoyed this tutorial – I have a full course On Generative Fill if you want to learn ai generation in Photoshop
Drop a comment and let me know if this was helpful.
Browse the other free photoshop tutorials here at the cafe
Download 100s of dollars worth of Photoshop adds on for free here at the Vault.

Also follow me on Instagram, Tik Tik, Threads and Twitter. for shorts and reels.
See you next time!
Colin
This site uses Akismet to reduce spam. Learn how your comment data is processed.

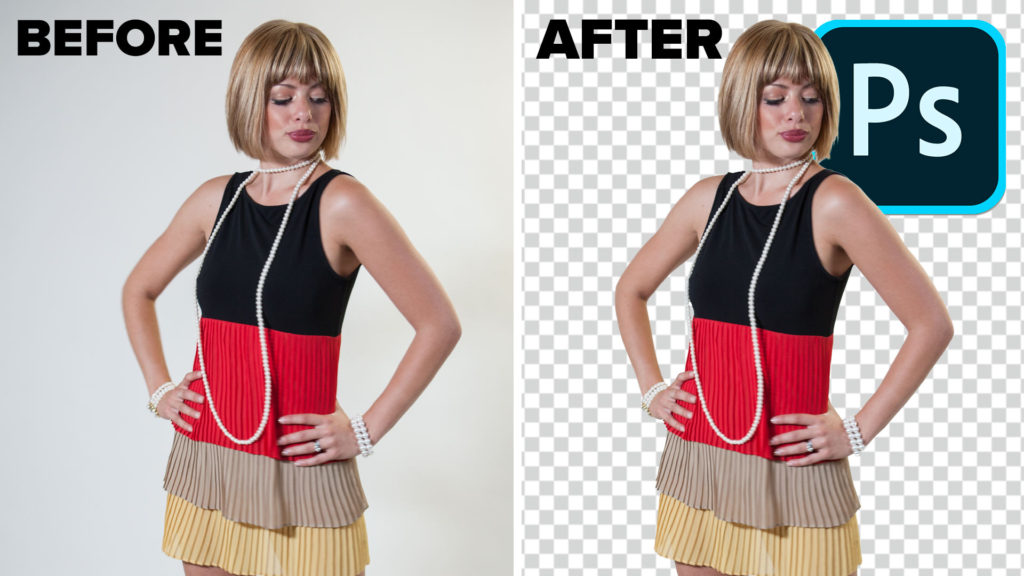
How to cut out an image in Photoshop and get clean smooth edges, remove the background with Channels and Dodge...


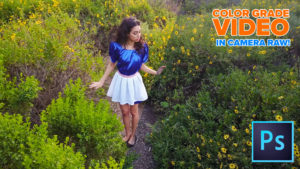
Use Path blur in Photoshop CC to add a custom motion blur to an object in a photo without any...


How to blend multiple photos together to get wider depth of field with focus stacking. Macro and close up photography...


Does anyone know when a working version of Photoshop Beta V25 will be released. The first release did not function i.e. Select and Mask. Adobe are aware of the problem
Wow, fantastic Colin. Hope its adopted into full version and not just Beta.
Yes, Colin, helpful as is usual for all your demos. You have presented for our OCMMA groups in the past, many thanks.
OCMMA as a web presence is going away. We are now two groups – the Digital Creatives and my After Effects Abuser Group. Maybe we can get you to do a zoom presentation at some point in the near future….?
Thank you Colin! Great stuff. However I have a problem … I enlarged a photo to 32 x 9 and saved it as a jpg. The process worked well, but when I tried to use it as a background across 2 screens (done it with other photos before) it reverted to the original 16 x 9 photo on each screen. Any ideas why?
Colin, I found the answer – use “Span” settings for background. Never needed to use “span” before!
Colin, great video as always. Testing this on a high res raw file saved as PSD (300 resolution), I’m seeing that the expanded area is a significantly lower resolution than the original. I was aware of this limitation previously but was hoping Adobe had solved it for this capability.
Yes, I address this in the tutorial
I am having trouble with Photoshop Beta Not opening photos from Lightroom Classic Command E or from Photo menu .Can you suggest any reason for this, I some times get a message back in LR that Beta can not be opened, but it is already open ???
Help please
I think its a known issue